FG Knot
This post will show you the absolute fastest and easiest way to tie the “FG knot”. And you can even download a free PDF guide too.
The FG knot is a relatively new braid to mono (or fluoro) knot that has proven to be stronger and thinner than all other braid to leader knots we’ve tested.

Raise your hand if you’ve ever said the following…
“The FG knot is a strong knot, but it takes too long to tie it..”
Heck, I know I said the exact same thing the very first time I found about it.
But even though I incorrectly thought that the FG knot took too long to tie, I have been a huge fan of the FG knot ever since it shocked me in my first braid to leader knot contest.
Because the FG knot proved to be over 20% stronger than all of my prior favorite braid to leader knots (Double Uni knot, Crazy Alberto knot, and the Albright knot).
And it also happens much thinner than all of the other braid to leader knots because the thicker leader line never doubles over.
But the most common complaint against the FG knot that I’ve heard is that it takes to long to tie…
And I’ll completely agree with that concern if it is being tied the traditional way by manually wrapping the braid around the mono.
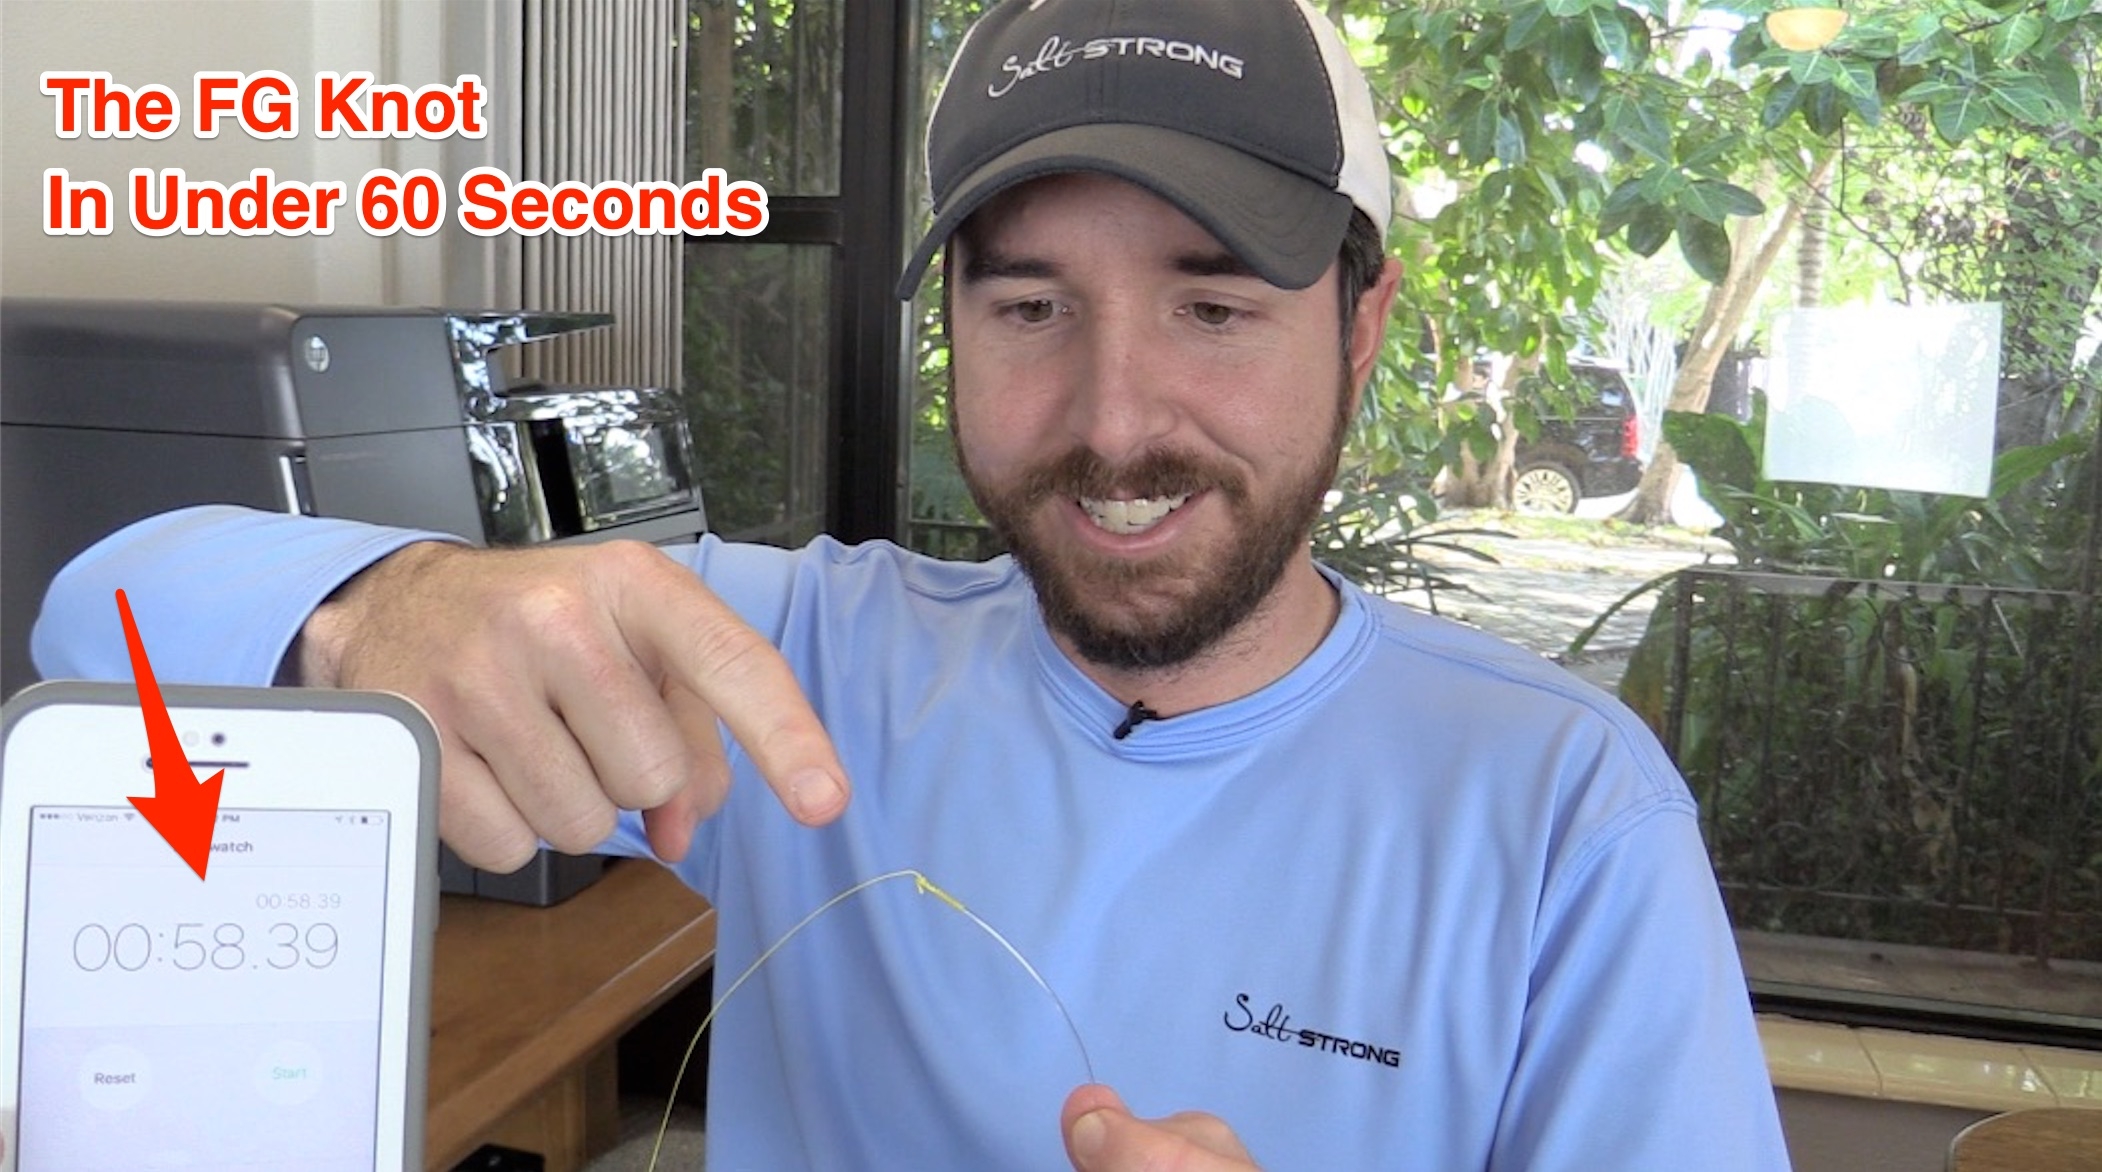
However, there is a much faster and better way to tie the FG knot that allows it all to be completed in under 60 seconds (video proof below).
How To Tie The FG Knot [Quickly]
The absolute best and fastest way to tie the FG knot is to thread the leader onto the braid while the braid is under tension.
There are several ways to do this, but the version shown in this post is the fasted method by far that I’ve tested.
In case you’re like me and learn best from videos, here’s a detailed tutorial on how to tie the FG knot that I made last year:
FG Knot Video Directions
Free FG Knot Guide [PDF]
Click here to get a single page cheat sheet PDF guide showing the core steps of the FG knot so you can always have it on hand if you need it… it’s 100% FREE!
FG Knot Steps [Must Do All 7]
Here is a list describing the essential steps to the FG Knot:
1. Apply Constant Tension On The Braid
The easiest way to do this is to bite down on the end of the braid with your teeth (use back teeth so your orthodontist doesn’t get upset). And then lean the rod away from you so that the gravity on the rod will keep a nice constant tension on the line.
When fishing from a kayak, I often put the tag end of the braid in my mouth and then lightly step on the braid against the kayak so that it creates enough tension to keep the FG coils together.
And if you’re worried about damaging the line by stepping on it, then another option is to wrap it around a toe.
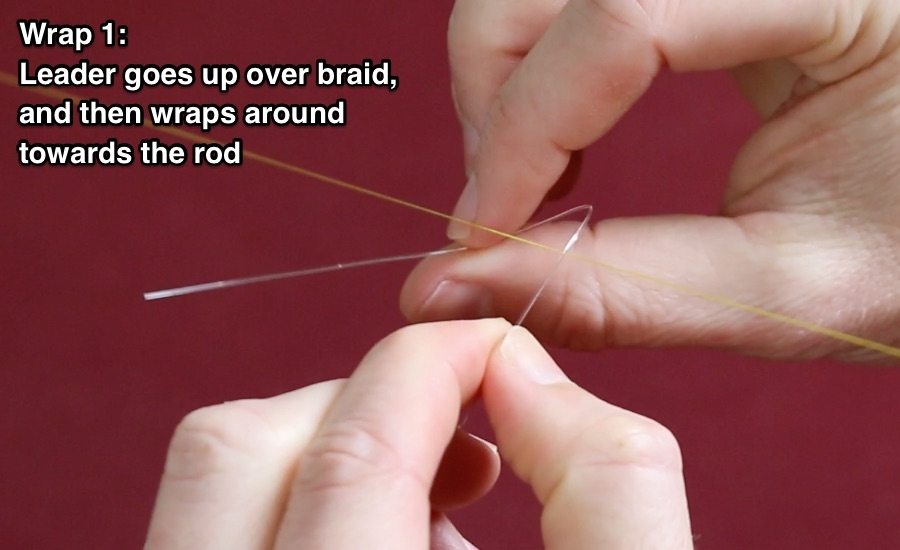
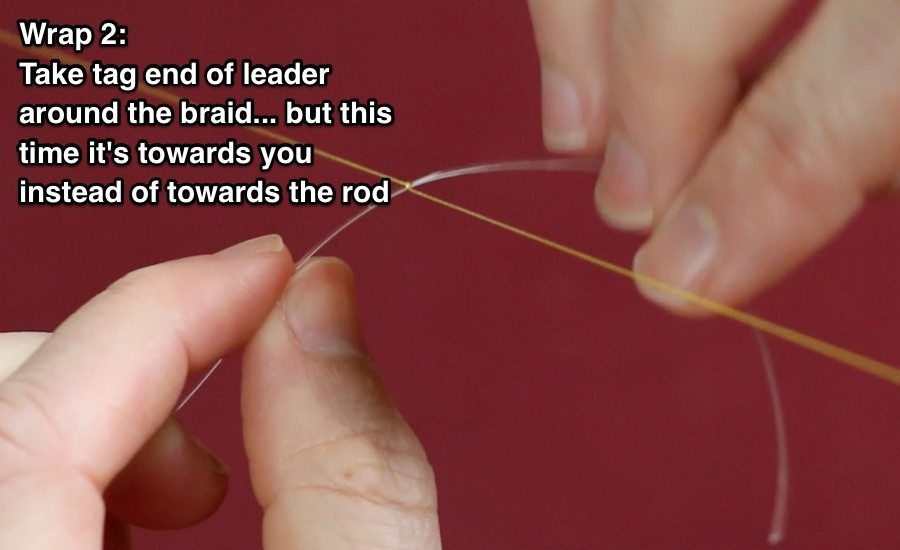
2. Thread the Leader Onto The Braid
After getting tension on the braid, the next step is to thread that leader onto the braid.
And since both hands are free, this step is so much easier than the traditional style of tying the FG knot.
My favorite way to do it is to have one hand on the coils so I can feel them all settle into place while the other hand moves the leader from side to side.
Here are some pictorials showing how this is done:
Note: A full video tutorial of the FG knot is below the pictorial images

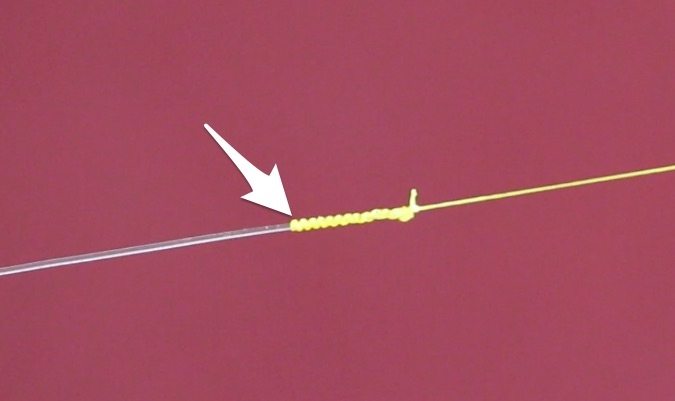
3. Use Hitch Knots To Lock Braid Coils Together
The braid coils are what holds the two lines together… once they are on the leader, we now need to tie a separate knot to prevent them from unraveling.
My favorite knot for this is the basic hitch knot, which is just the act of creating a loop with the tag end of the braid, and then going around the main line before turning going through the loop.
Then just pull it tight into the braid coils and tie another hitch.
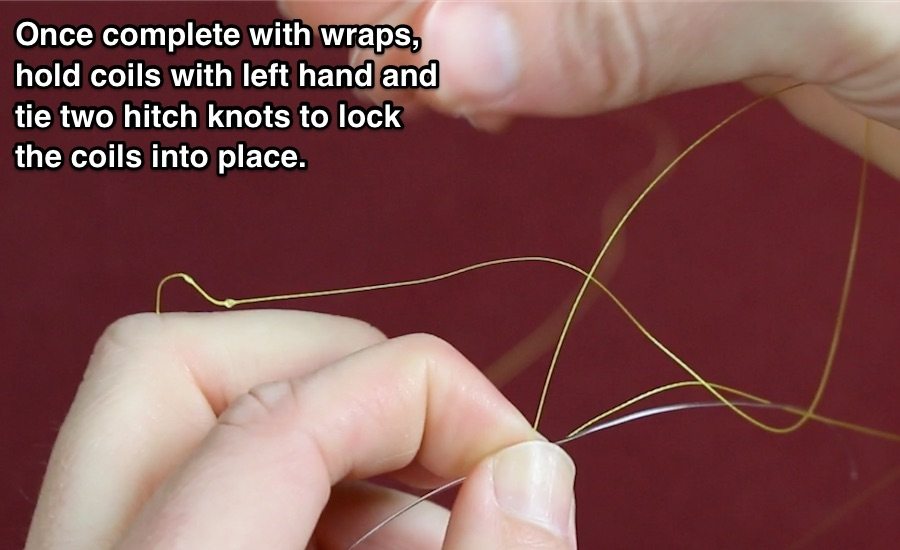
Note: When in a rush, I’ll tie 4 hitch knots and then skip the optional step of tying more hitch knots above the tag end of the leader.
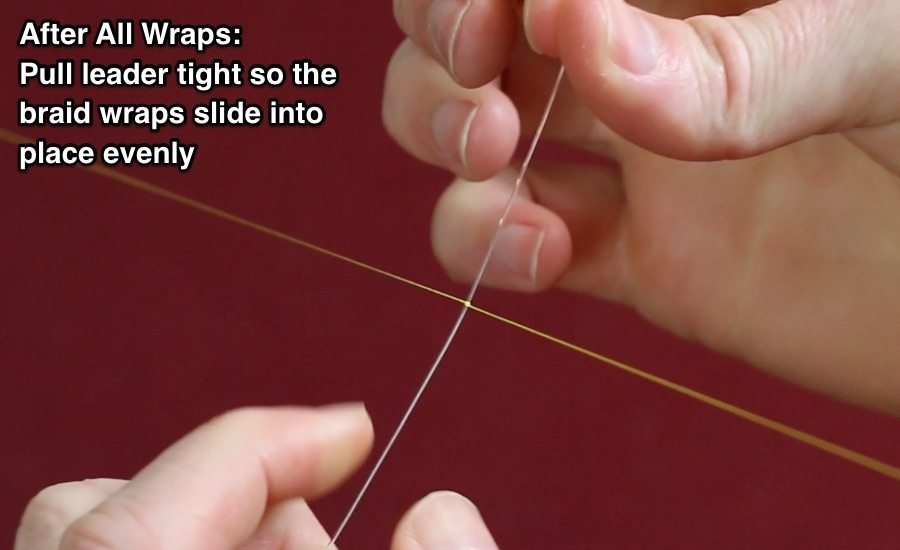
4. Pull Hard On Main Lines
The braid coils must dig grooves into the outer layer of the leader in order to permanently lock itself into place. So it is VERY important to apply heavy tension to the knot to ensure that the grooves are formed.
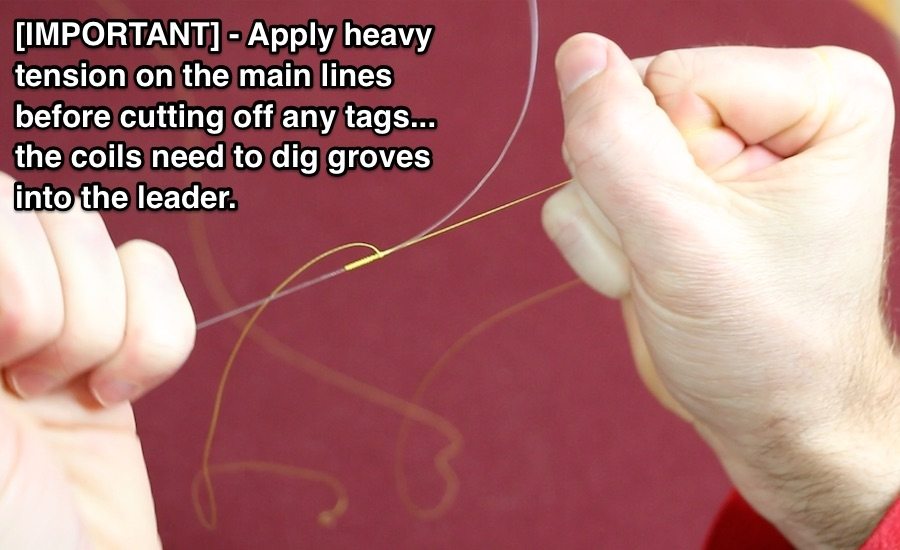
Important Note: This step needs to be done before cutting the tag end of the leader off… otherwise, the coils may slide off because they typically shift up slightly before forming their grooves.
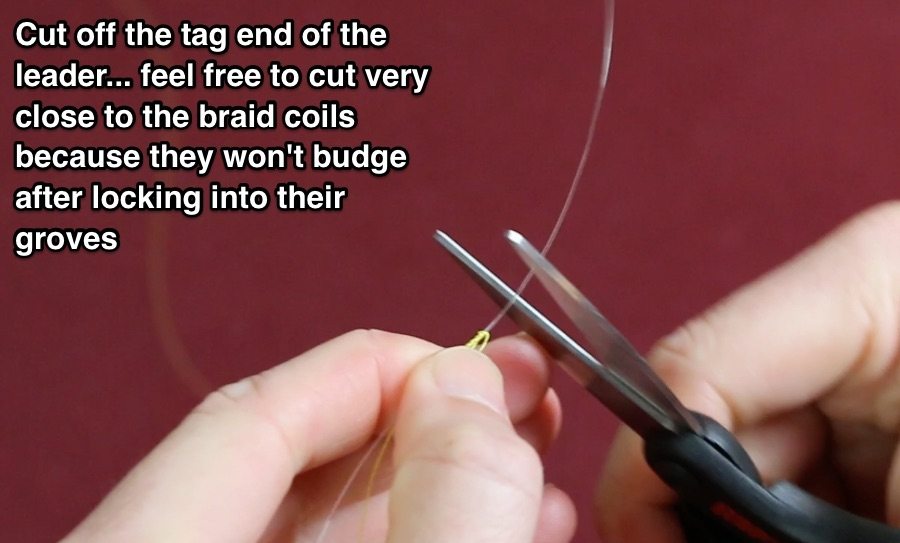
5. Cut Off Tag End of Leader
Now that the braid coils are locked into place, it’s time to cut off the leader’s tag end.
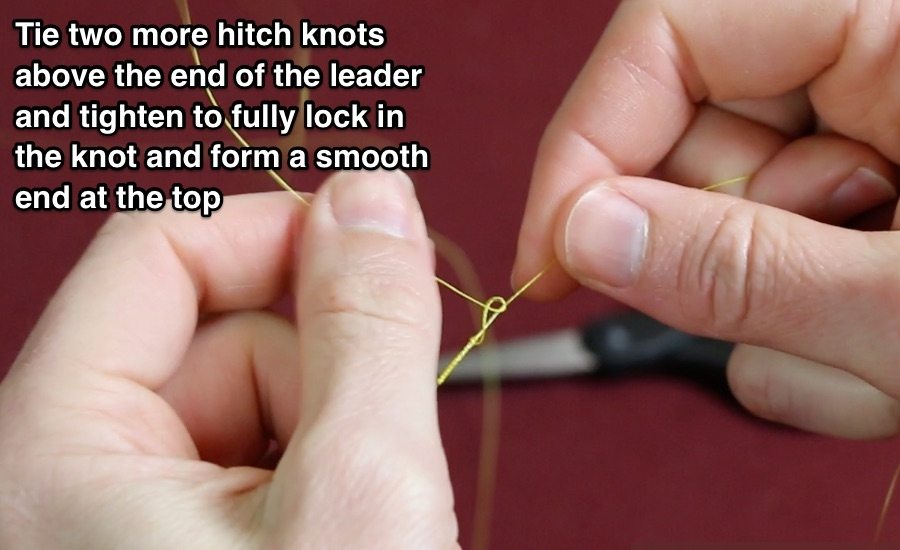
6. Tie Two More Hitch Knots Above the Leader
The purpose of this step is to create a smoother top of the knot so that the hard edge of the leader’s tag end doesn’t snag onto anything (floated debris, rod guides, etc.).
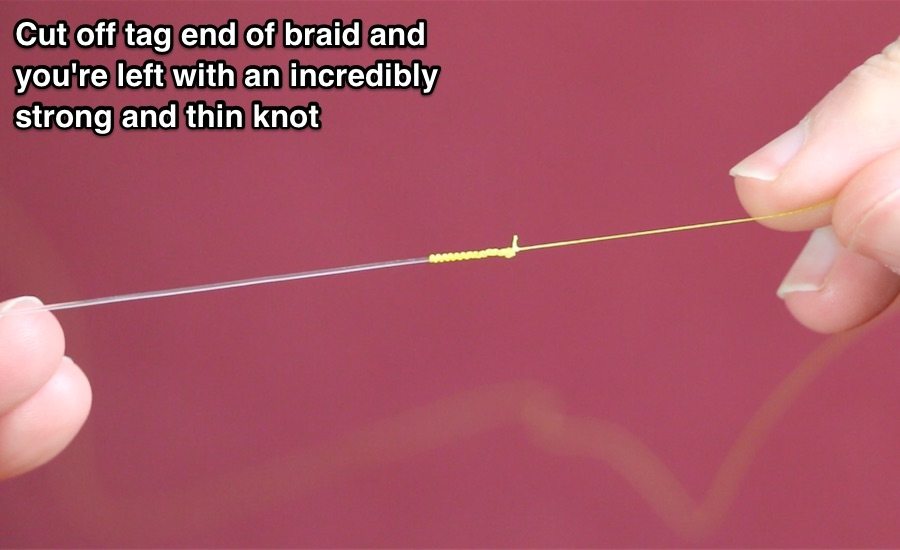
7. Cut Off Tag End of the Braid
All is complete so time to cut off the braid’s tag end and start fishing.
Free FG Knot Guide [PDF]
Click here to get a single page cheat sheet PDF guide showing these core steps of the FG knot so you can always have it on hand if you need it… it’s 100% FREE!
The FG Knot In Less Than 60 Seconds
As I mentioned above, the most common reason we’ve heard from those who watched the video above in YouTube was that it takes too long to tie.
But the tying was of course done slowly in order to explain the various steps.
So we thought it would be fun to make a video showing me tying the FG Knot without taking the time to walk through each step. And the result was an FG knot in less than 60 seconds… here is the video:
Conclusion
Learning how to tie the FG knot in under 60 seconds is not difficult… it just requires knowing the quick method explained in this video.
And the most important part to remember is the tightening of the braid coils on the leader before cutting off the leader’s tag because that is what locks the coils in place for good.
Best of all, it will result in a knot that has tested out to be more than 20% stronger than many very popular knots for connecting a braided line to a mono/fluoro leader.
Note: The breaking test results change depending on line types used, so I highly recommend trying it out on your favorite gear and seeing if it has a higher breaking point than whichever knot you’re using to see if it’s worth the switch.
Related Post: The #1 Mistake Anglers Make With The FG Knot
P.S. – If you think your angler friends or fishing networks would like to see this, please Tag them or Share this with them. It would mean a lot to me.
Go To Our Knot Testing Homepage [Full Knot Rankings]


I just lost a nice big red right off my dock because I tied a crappy knot (double uni) and I think I had too heavy a leader. 30 lb w 10 lb braid. Now I have 20 lb leader and a good FG knot to hold it on. Wish me luck.
Don
braid cuts through my leader every time 🙁
What lines are you using? Sounds like the mono is either bad line or it’s too weak for the braid that it’s being paired with.
6lb braid to 6lb fluorocarbon (Seagaur red)
Why does my mono pull all the way through the knot?
You need to wrap your braid to the mono tighter so they can start gripping as soon as you pull them all together.
The ducks nuts method to tie this knot. I have been doing this knot by wrapping the braid over the mono, super strong (record is a 25kg tuna on 14lb braid) but a royal pain in the ass to tie in strong wind, so rig up at home and change to a double uni on the water if I get dusted. This is super quick and easy (nailed it first attempt) and could to it in a pretty stiff breeze. Never noticed the unwrapping, I am throwing big plastics at 5kg+ snapper and trevally and never had it fail short of getting dusted in reefs
Glad to see that you enjoyed this lesson on how to tie the FG knot with line tension.
Evidently the FG knot can’t work with Power Pro’s Super Slick V2 line. When I pull the line and fluorocarbon leader in opposite directions, the leader slides thru the tightened coils instead of digging in. I also tried tying separate half hitches on each leg, like finishing a Bimini Twist, but the leader still pulled out of the knot. Have you tried the FG with that line? Is it likely to work better with monofilament instead of fluorocarbon? or is the line too slick for either material?
Luke, I’m tying this just as you show and pulling very tight. Tying 20 lb PowerPro braid to 20 lb Fluor. At least half are failing within the first two hours of casting. Usually within an hour of casting the tag end of the braid begins to fluff. Shortly after, during a cast the leader and lure just sail out into the marsh grass. Any suggestions? I’ve even tied some of the elaborate “finish” knots with same result. Once the braid tag end begins to frizz up, the coils around the Fluoro loosen and release. I love the way the knot goes through the guides but the failures are frustrating.
I highly recommend against casting the FG knot through rod guides on a consistent basis because once that first coil loosens, the entire series of coils will slide off (the issues isn’t on the finish side, it’s on the first coil that takes the brunt of the impact of the knot hitting the rod guides as it flies through them on a cast). And the risk of that happening significantly goes up as the strength of the braid approaches the strength of the leader. If you’re going to be casting a knot through the guides, then I’d recommend a different knot like the crazy alberto or the bimini/bristol combo.
Ok how long should my leader be then. To avoid casting the knot through the rod guides would limit me to about one foot. That can’t be.
Here’s a post that covers the ideal leader length: https://saltstrongdev.wpengine.com/articles/leader-line-length/
Can you use the the fg knot for braid to mono? I use 30 or 40 lb. Braid to a 17 to 20 lb. Leader for fishing for stripers and bass/northern snakeheads. Would this pass your strength test as well as fluorocarbon line?
The FG Knot is specifically designed for braid to mono connections, but it’s best for anglers who are using a braid that is weaker than the leader because it’s core premise is to protect the braid. For the lines you mentioned, I’d recommend a double uni knot.
Here’s an interesting method to tie the FG without having tension on the main line. What do you think?
https://www.youtube.com/watch?v=qQmUN0L4F6c
(Skip to 4:45 to get to the knot tying)
This was the first method that I found to tie the FG knot. It does work, but I found that the tension method does 2 things better: (1) it allows me to tie the knot much faster, and (2) it results in a more stronger knot more consistently since it ensures that all of the coils are packed together under the same tension which enables the most efficient spread of the tension load.
Thanks for the feedback. Always good to know the “whys”.
A very good demonstration for tying the FG knot. I used to use the old method but this new method is way, way simpler.
I have managed to successfully tie the FG knot, but have yet to find a device that will consistently make a clean cut in 10 to 15# power pro braided line. I always get cuts with ugly edges with fuzzy whiskers. Has anyone found a reliable device to trim braided line?
Just burn the end of the braid tag carefully.